
Introduction
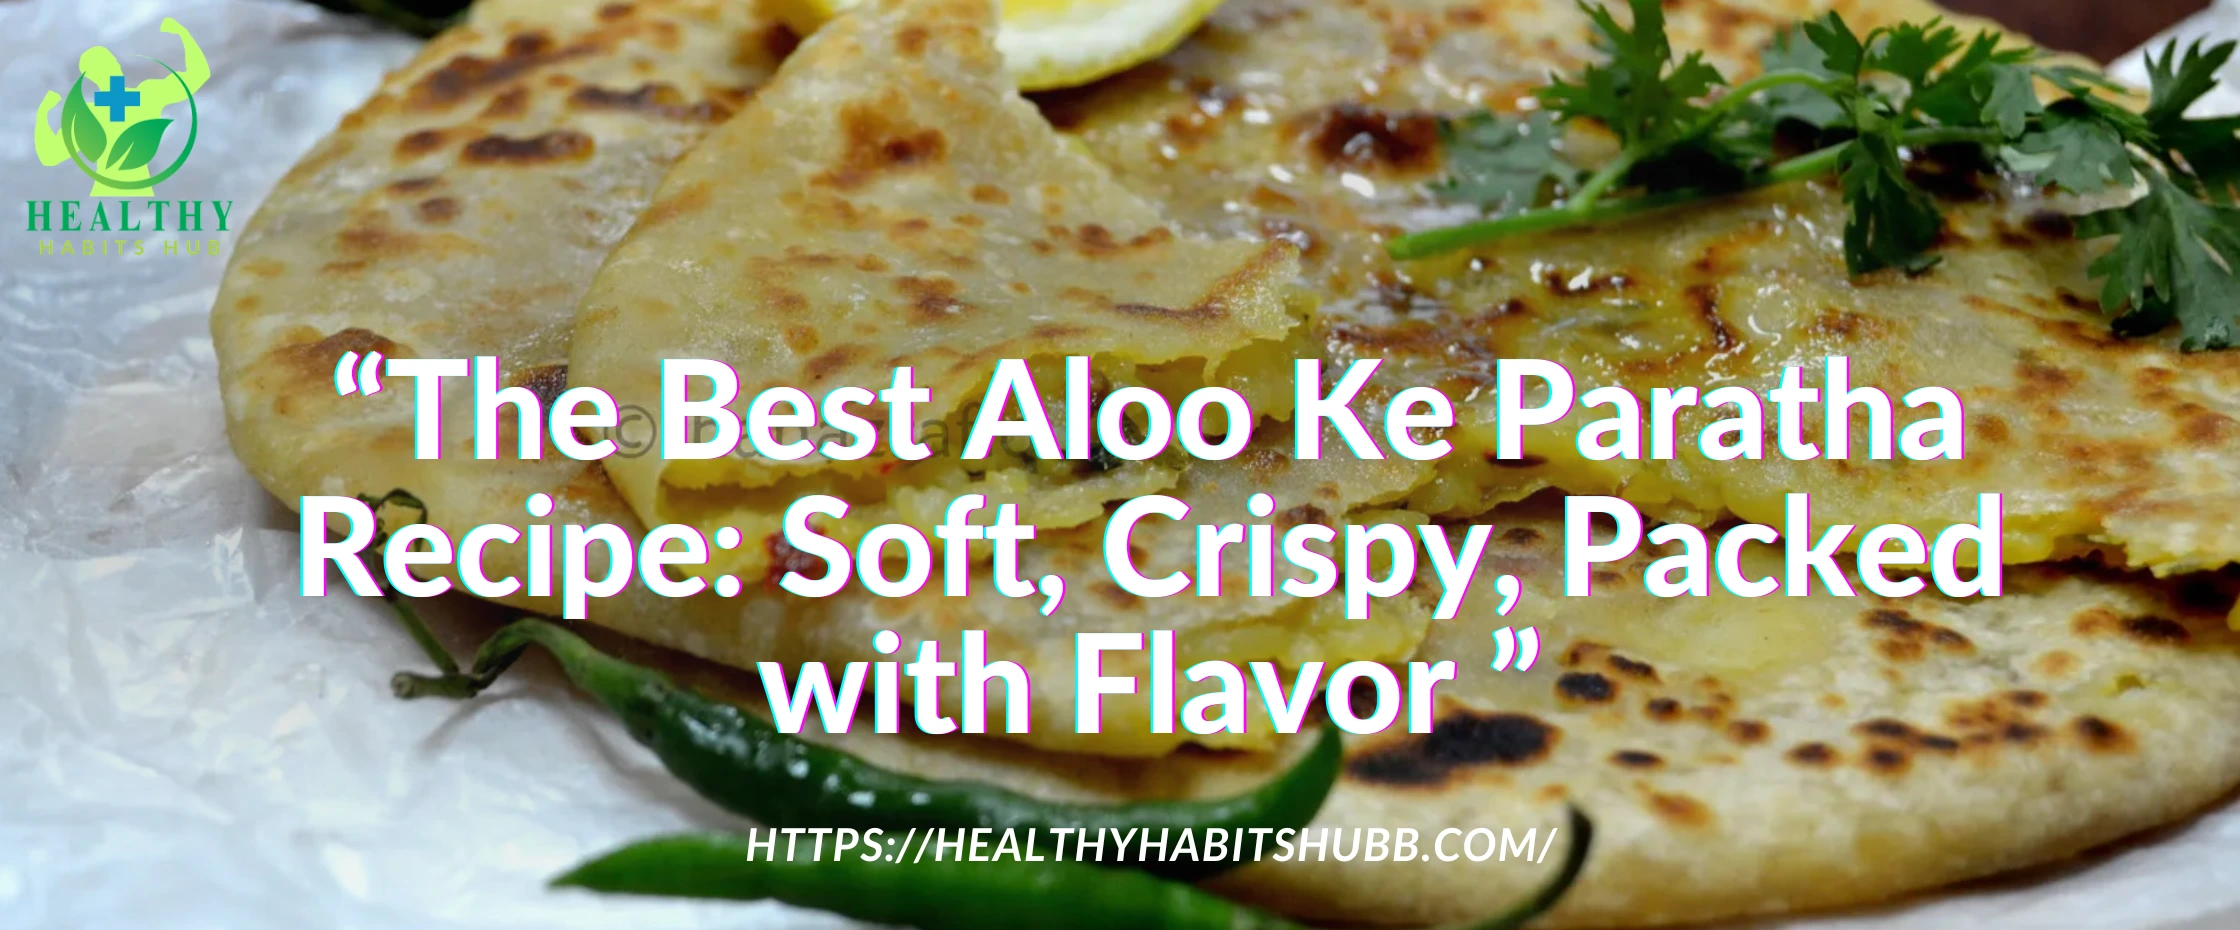
Aloo Ke Paratha – Does merely hearing the name cause your mouth to water? It is not merely a recipe, It is a food culture, a wholesome meal, and one that transforms any routine day of the week into a festive occasion. If you wish to dazzle your friends, family, or even yourself on an unhurried Sunday morning, showcasing culinary prowess by preparing Aloo Ke Paratha will help you do just that. And if your wife is not at home, this recipe will earn you the title of ‘Best Husband’ for a day – well, at least for a few hours. (depending on how well you prepare your parathas).
Not only is this recipe scrumptious, but it also offers great ease of preparation. In less than an hour, you will have a batch of parathas that are perfectly crispy, soft, and golden brown to appeal to everyone’s taste. And once you get the hang of it, you will never have to buy frozen parathas again. Trust me.
List of Ingredients:
For the Dough:
- 2 cups whole wheat flour (atta)
- 1/4 teaspoon salt
- Water (just enough to knead it into smooth dough)
For the Filling:
- 3 large boiled potatoes, mashed (the fluffier, the better)
- 1 small onion, finely chopped
- 2 green chilies, finely chopped (feel free to add more if you like it spicy)
- 1 teaspoon cumin seeds (jeera)
- 1/2 teaspoon red chili powder
- 1/2 teaspoon garam masala(Spice Blend)
- 1 teaspoon coriander powder
- Salt to taste
- Fresh coriander leaves, chopped (for that refreshing flavor kick)
For Cooking:
- Ghee or oil (because let’s be real, food tastes better with ghee)
Preparation and Cooking Time
- Preparation: 20 minutes
- Cooking Time: 20 minutes
- Archived Time: 40 minutes, but if you stop to admire the beautifully made parathas, then they will take extra time.
Step by step cooking instructions
- Prepping the Dough:
To start, take a mixing bowl, put in some whole wheat flour, and add in a pinch of salt. Gradually, start adding water and knead gently until the mixture is smooth and soft. It should be something that is easy to work with, like well-rested dough, not tough at all. Once done, cover the mixture with a damp cloth for 20 minutes. During this time, feel free to enjoy your cup of chai or catch up on a show – this is perfect multitasking.
- Prepare the Filling:
Mash up your boiled potatoes like you’re venting out your stressful day (make sure to get all that frustration out). Throw in the chopped onions, green chilies, cumin seeds, red chili powder, garam masala, coriander powder, and salt. Make sure that all the spices are mixed evenly. The taste is the best part, and even though you can have a little of the filling (if it’s not too hot) to check if the flavor is right, it’s still an added bonus.
- Rolling Out the Paratha:
Fill a bowl with dough and split it into pieces that are approximately the size of a golf ball. Ensure you do not over stretch the circle while rolling it out into small circles. Place a spoonful of the potato filling in the center put edges together, seals and gently rolls it out again. It’s perfectly fine if it cracks a tiny bit, being rustic is always a good fashion. Not to worry, it’s going to taste great.
- Cooking the Paratha:
Preheat the tava to medium heat. While it’s hot, carefully lay the rolled out paratha onto the tava fry it on medium heat. Allow the paratha about 1-2 minutes of cooking time, or until you see bubbles forming on the top side of the item. Don’t panic, it will be all right after you flip it over and smear some ghee (or oil) on the top side of the flatbread. Turn the bread and wait for roughly another minute until it reaches that beautiful golden brown color and is crispy. You are sure to become a pro in no time.
- Serve and Enjoy:
Hot and ready to serve are your Aloo Ke Parathas! Accompany them with a side of thick yogurt, mint chutney, spicy pickles, or whatever your palate desires. Dazzle friends and family by garnishing with fresh coriander. While they may think you have been cooking for years, who knows – after this recipe, you might just turn into a culinary wizard.
Common Mistakes to Avoid
- Dough Too Dry or Too Sticky:
If the dough feels either too dry or too sticky, just add a bit of water or more flour. The consistency should be a soft dough, as anything rock hard or gluey is not going to be ideal.
- Sealing the Edges:
Try to avoid leaking while shaping the paratha. If some does come out during cooking, it’s okay. Just shape it back up, and although it might not look perfect, it will still taste delightful.
- Overcooking the Paratha:
The heat should be kept on medium, since low heat will result in a doughy inside and high heat will burn the outside. The desired state we want is a beautiful light brown color with crisp edges.
Pointers for Preparing These Delectable Aloo Ke Parathas
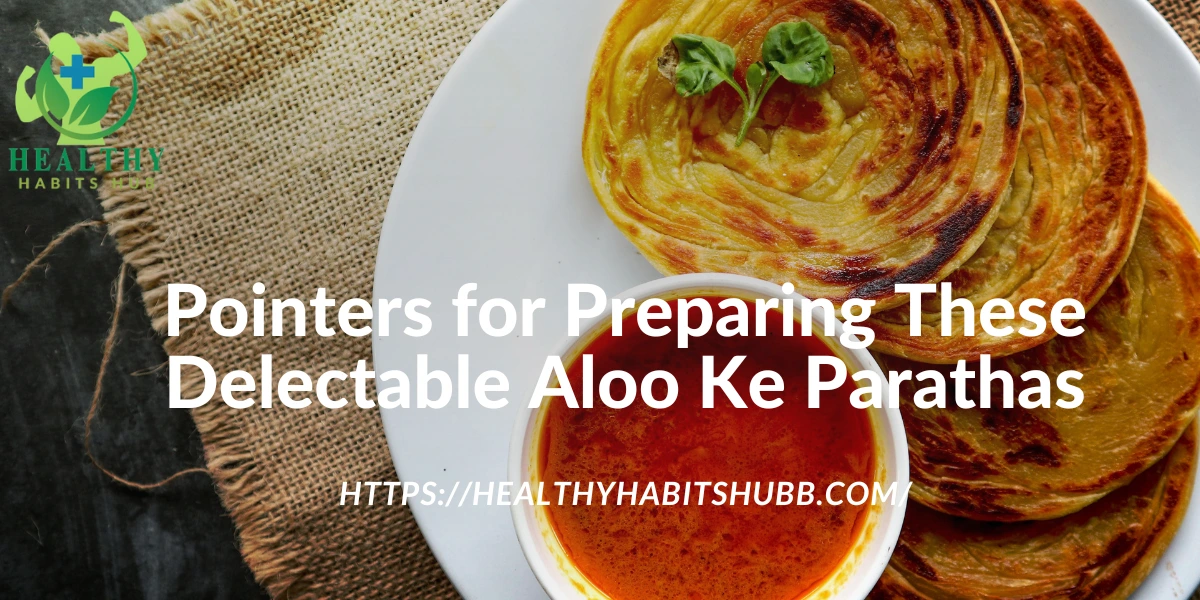
- Rest the Dough:
This is non-negotiable! You need to treat the dough with respect. Resting it allows you to roll the dough without tearing it into pieces. Treat it gently.
- Fresh Potatoes Are Key:
Attempting to make the dish with fresh, fluffy potatoes guarantees a successful outcome to the right texture. Old potatoes, which turn into mushy mess are a definite no-go. Everyone wants their parathas to be perfect.
- Don’t Skimp on Ghee:
Ghee or oil makes all the difference. You WILL taste the love (and the calories). And guess what? Every single bite will deliver a ghee-enhanced, crisp-wonder that will be a crispy edged sensation.
- Roll Evenly:
Rolling out the dough requires some rhythm. And in this case, speed isn’t exactly a virtue. It is meditative in itself. Must parathas come out looking like a perfect circle? Well, that is a “meh.”
Serving Suggestions
- Yogurt:
Perfectly complements the hot and spicy parathas along with adding cooling relief is yogurt . And for what it’s worth? Not to get technical, but it does balance the heat.
- Pickle:
Yum! Pickles are awesome and so are parathas. And combination of the two? Say goodbye to the overwhelming excuse of Aloo Ke Paratha straying out of our culinary lives.
- Mint Chutney:
To cut through the rich flavors of the paratha, serve it with a mint chutney for an extra burst of freshness.
- Butter:
If you want to delight your taste buds further, add a dollop of butter onto the paratha. While its indulgent, we’re here to savor life.
Variations
- Cheese Aloo Paratha:
Do you want to indulge in something cheesy? Shred some cheese and put it in the filling. Your paratha is now a melted, gooey, cheesy masterpiece.
- Methi Aloo Paratha:
Are you trying to pack in more nutrition? Toss in fresh fenugreek leaves (methi). This offers a unique, healthier, and flavor-rich twist for those who enjoy parathas with a slight bitter edge.
- Spinach Aloo Paratha:
Want to sneak in some veggies? Use spinach! Chopped spinach folded into the potato filling adds a pop of green color to the paratha.
- Masala Aloo Paratha:
If you want to liven up your paratha filling, sprinkle in some roasted cumin powder, dry mango powder (amchur), or chat masala. These spices give your paratha a zesty kick.
Conclusion
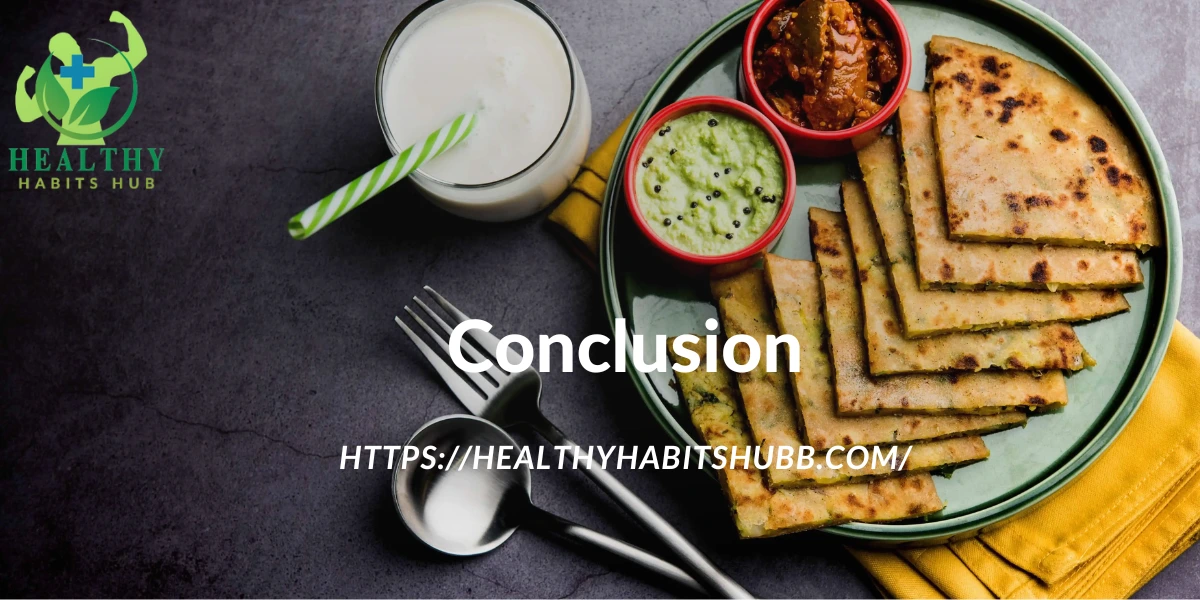
Aloo Ke Paratha is an incredibly warming dish that can be described as home-cooked. It’s the food you have when you want to feel warm and snug inside, regardless of whether it’s breakfast, lunch, or dinner. And it should be tasty, as it is bound to impress the people you cherish or even yourself.
Now, if your wife leaves for shopping and you wish to explore, this recipe can be labeled as your saving grace. All you need is a few basic ingredients, some affection, and D dose of humor to prepare Aloo Ke Paratha.
Feel free trying it out and let us know how it went. Make sure to spread this recipe with your loved ones too. Wish you the best in preparing it, and have fun cooking!
Video Tutorial
To better illustrate it, you can watch this Aloo Ke Paratha Recipe Video and see every single step of it in a video. While cooking, it can always be appreciated to have some extra guidance around.