
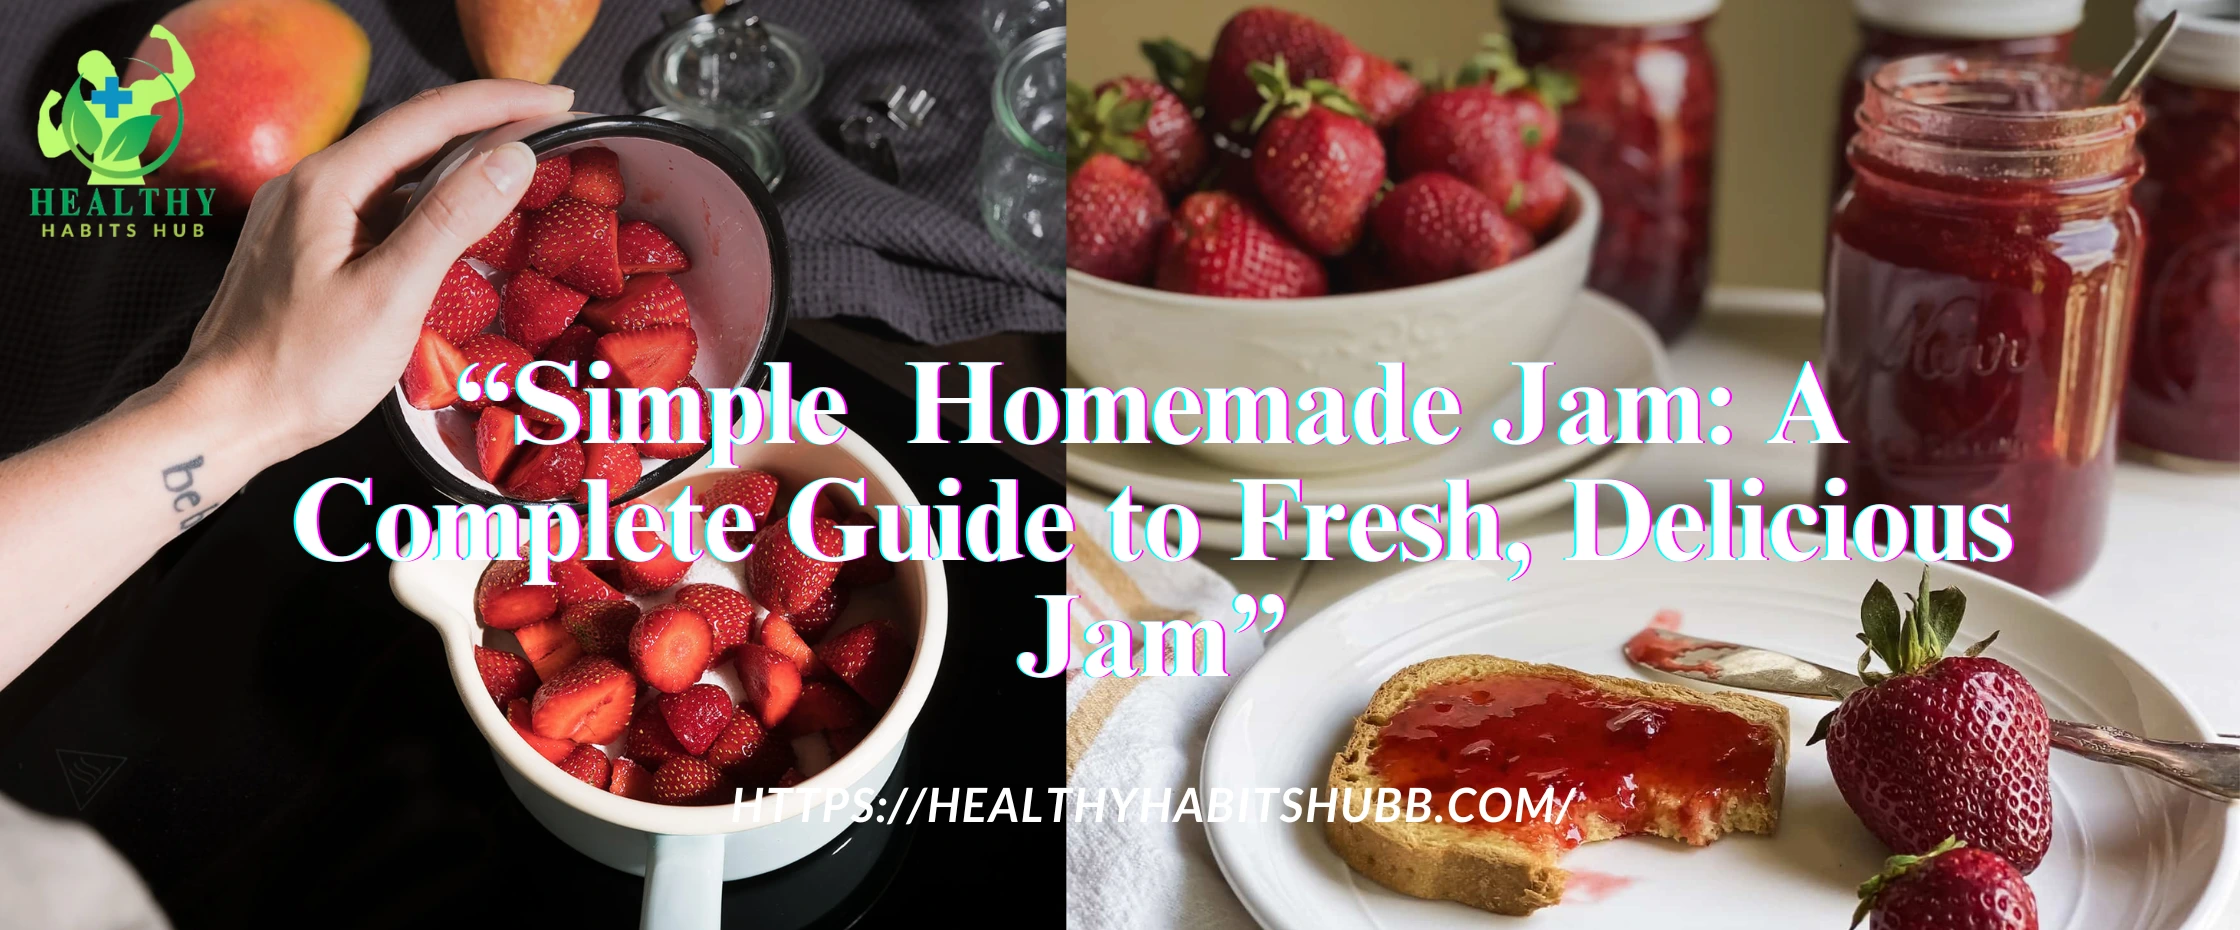
Introduction
It’s a classic kitchen craft that never goes out of style, making homemade jam that you can enjoy year-round — not just during that brief window when fruit is in season. Whether you’re a home cook who already knows your way around a preserving pan, or you’re a jam-making newbie, the process of making jam is rewarding, money-saving and puts you in control of what goes into the jar. This blog will take you through from easy homemade jam 101: the basics and equipment you’ll need, through simple step by step recipes, how to fix problems if they arrive, creative flavor options and how to keep your homemade delight safe to eat. And you’ll also find links to reliable resources and recipes, for more exploration.
Why Make Homemade Jam?
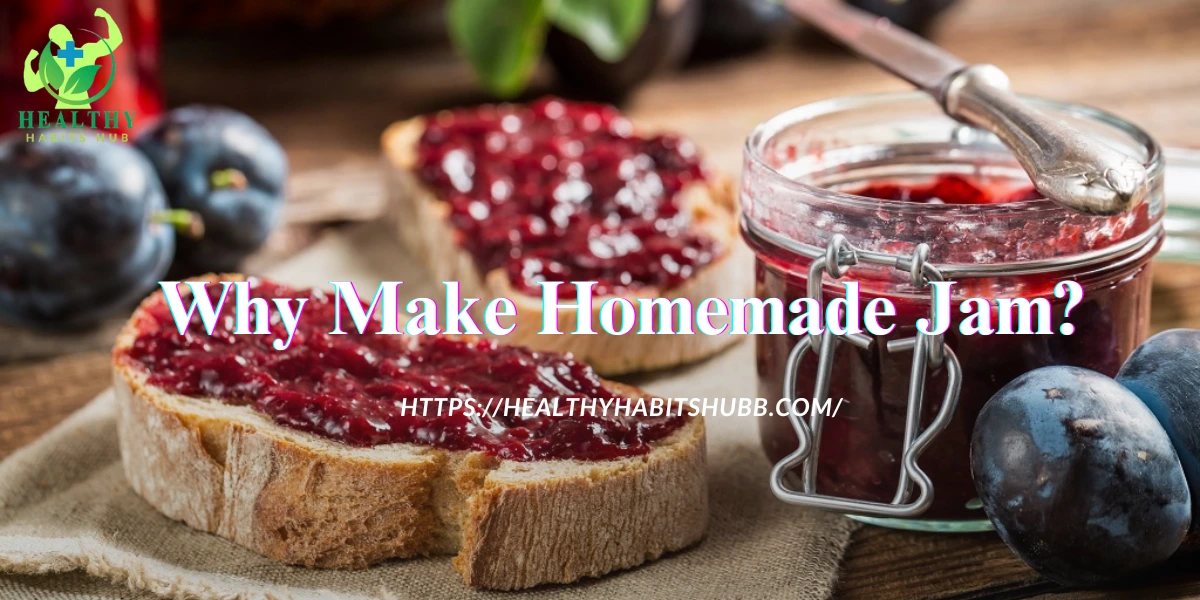
- Flavors Personalized: Since you are in control of the ingredients you can try them all … or if you feel creative you can make your own flavor.
- Health-Based Ingredients: You can decide how much sugar is in your and how much of any other ingredients on it you like. No preservatives Casual and Fun: The kids will love helping out.
- Cost Savings: Making jam at home can save money versus buying specialty jars at the store, and can be even more cost-effective when using seasonal or homegrown fruit.
- Gifting: A jar of your homemade jam is such a great, personal gift for family and friends.
- Satisfaction: There’s something so fulfilling about saving the taste of summer or fall so you can relive it whenever you want.
The Basics: What Is Jam?
Jam is a sweet spread resulting from cooking fruit with sugar and sometimes pectin, a natural thickener. The mixture is reduced to a gel, and jarring is continued. While jelly is made with fruit juice, jam has pieces of fruit, making it chunky and packed with flavor.
What You Need to Make Pigs in a Blanket

Tools
- Big, Heavy-Bottomed Pot: To avoid scorching and to promote consistent cooking.
- Wooden Spoon or Heatproof Spatula: For stirring and scraping the pot.
- Cups and Spoons: For exact measurements of ingredients.
- Ladle and funnel: For avoiding messes when you pour hot jam into jars.
- Jars with Sealed Lids: Mandatory to keep safe.
- Canning Tongs or Jar Lifter: To lift hot jars from the canner when water-bath canning.
- Candy or Instant-Read Thermometer (Optional, but useful to test the setting point of the jam)
Ingredients
- Fruit: Ripe and unblemished fruit will taste the best and have the best texture.
- Sugar: Sugar works as a preservative and assists jam in setting; it can be dialed down for reduced-sugar recipes.
- Lemon Juice: Gives it acidity, balances sweetness and aids in setting.
- Pectin (Optional): Accelerates the setting, especially with low-pectin fruits.
Picking the Right Fruit for Jam
Your jam will only be as good as the fruit you put into it. just use ripe, but not overripe, fruits, which will give you natural pectin’s and acidity in the right proportions. Some fruits are higher in pectin to start (apples, citrus, plums, blackberries) while others (strawberries, peaches, cherries) might need some pectin added, or extra cooking to set.
Common Fruits for Making your own Jam:
- Strawberries
- Raspberries
- Blueberries
- Blackberries
- Peaches
- Apricots
- Plums
- Apples
- Cherries
- Mixed berries
Classic Homemade Berry Jam Recipe: A No-Fuss, Step-by-Step Guide

- Ingredients
- 4 cups mixed fruit (washed, hulled, pitted, or sliced as needed)
- 2–4 cups granulated sugar (depending on how sweet you want it)
- 2 tablespoons lemon juice
- 1 package (fruit type dependent) fruit pectin (OPTIONAL)
- Sweeteners to taste (optional, depending on the sweetness of your fruit) Instructions
- Fruit: Rinse and prepare the fruit. If using berries, hull and halve larger ones. For stone fruits, pit and chop.
- Sterilize Jars Wash jars and lids in hot, soapy water. Sterilise by boiling for 10 minutes or in a dishwasher on the hot cycle.
- Mix Fruit and Sugar: In a large pot, mix fruit, sugar and lemon juice. If you decide to use pectin do what the box tells you.
- Cook the Mixture: While stirring, bring to a low boil over medium-high heat. Decrease the heat and let simmer, mashing down pieces of fruit as they soften…. Test for Set: After 15 to 20 minutes, test jam to see if it has set by putting a spoonful on a chilled plate. If it wrinkles when you push it, it’s done.
- Jam the Jam: Using a large spoon or ladle, fill the sterilized jars with hot jam, leaving ¼ inch headroom. Wipe rims, seal with lids, and process in a boiling water bath for 10 minutes (if you want them to be shelf-stable).
- Cool and Store: Allow the jars to cool undisturbed. Inspect seals prior to storing in a cool, dark place. Refrigerate after opening.
GET THE RECIPE + 13 TIPS FOR NO-FAIL JAM EVERY TIME
Do Not Overcook: Overcooked jam can turn thick and gluey. If it’s set, take it off the heat.
- Taste and Tweak the Sugar: As always, you’ll want to taste as you go. More sugar leads to a firmer set but a shorter shelf life, and can even accentuate fruit flavor.
- Flavor It Up: Mix in vanilla, cinnamon, ginger, herbs like basil or thyme per a gourmet jam.
- Small Batches: For better taste and easier to handle make smaller batches 16.
- No-Pectin Jam: Some fruits (apples, citrus, plums) gel up just fine without the added pectin. For fruits low in pectin, add a grated apple or some citrus peel.
Troubleshooting Common Jam Problems
| Problem | Cause & Solution |
| Jam won’t set | Not enough pectin/acidity; cook longer or add commercial pectin |
| Too thick/stiff | Overcooked; try stirring in a little hot water to loosen |
| Too runny | Under-cooked; reboil with added pectin or lemon juice |
| Cloudy jam | Stirred too vigorously or not skimmed; skim foam before jarring |
| Mold on top | Jar not properly sealed or stored; discard jam and sterilize jars |
Creative Homemade Jam Flavors
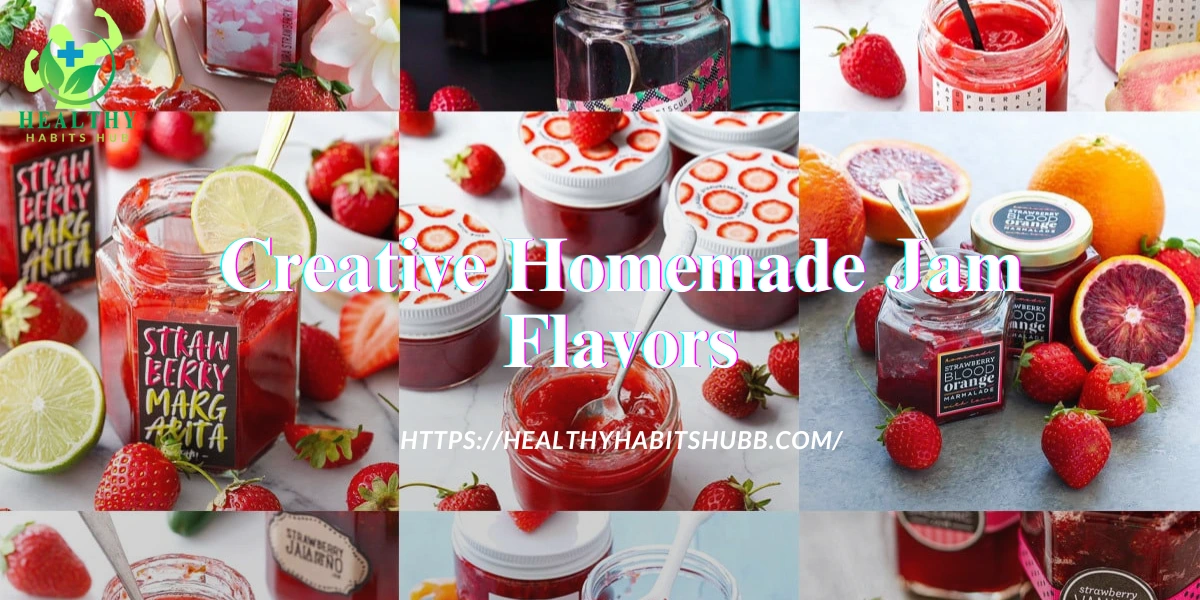
- Strawberry-Basil Jam: Stir in some chopped fresh basil at the end of cooking and you have transferred that sweet treat into something a bit more savory.
- Peach-Ginger Jam: Mix in grated ginger for a spicy flavor.
- Blueberry-Lemon Jam: Brighten a mix of blueberry flavor with lemon zest and juice.
- Raspberry-Chia Jam: Chia seeds thicken this, making it low sugar and no pectin.
- Apple-Cinnamon Jam It’s that ol’ classic fall flavor in a jar spiced up a bit with some ground cinnamon.
Refrigerator and Freezer Jams: An Easier Way!
If you’d like to avoid canning in a water bath altogether, experiment with refrigerator or freezer jams. These recipes have less sugar, are quick to make, but should be kept in the fridge (up to 3 weeks) or freezer (up to 6 months).
Simple Refrigerator Jam Recipe:
- 2 cups fruit
- ½–1 cup sugar
- 1 tablespoon lemon juice
Mash the fruit, combine with sugar and lemon juice, cook until thick, and pack in clean jars in the refrigerator.
Safe Storage and Shelf Life
- Water-Bath Canned Jams: The unopened jars can be kept in a cool dark place for 1 year.
- Refrigerator/Freezer Jams: Keep in fridge up to 3 weeks, freezer up to 6 months.
- After Opening: Refrigerate and use within a few weeks.
- Inspect Seals: Push down on the lid and if it pops, store in the refrigerator and use soon.
Homemade Jam as Gifts

Homemade jam is a personal, customizable gift. Adorn jars with circles of fabric tied with ribbon or labeled with a handwritten tag. Great served with homemade bread or scones.
Frequently Asked Questions
- Can I Use Frozen Fruit?
Yes! Defrost and squeeze out liquid before using. Use frozen fruit for homemade jam out of season.
- How Do I Make Low-Sugar Jam?
Consider low-sugar pectin or natural thickeners such as chia seeds. Sweeteners can be adjusted to taste, but note that sugar helps preserve jam.
- Is Homemade Jam Safe?
Homemade jam is safe as long as it has been properly made and stored. Be sure to use sterilized jars and process in a water bath for shelf-stable storage, and throw away any jars that have mold or off smells.
Conclusion
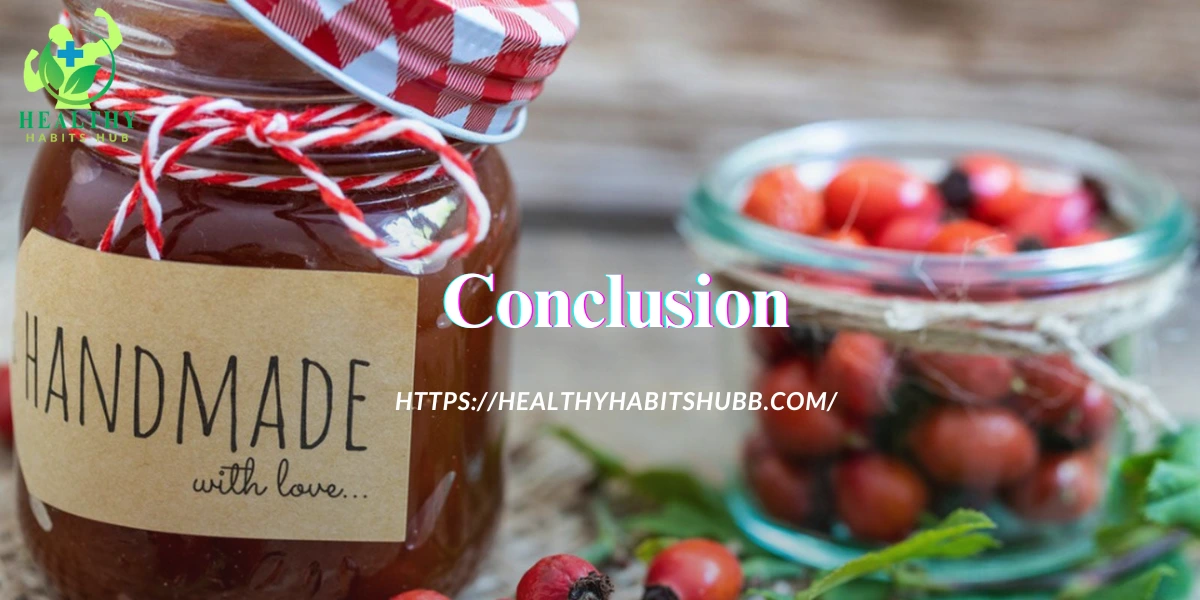
Simple homemade jam is a wonderful, inventive and an extremely useful way to make the most out of seasonal fruit and even that box of bruised fruit. With a pair of food processors and a handful of basic ingredients and tools, you can whip up spreads that are much healthier, tastier and more personal than anything you can buy. Whether it’s classic strawberry, inventive peach-ginger or low-sugar chia jam, the process is straightforward and rewarding. Enjoy your jam with toast, yogurt, or give it away—homemade goodness in every jar!